This article shows you how to run a report broken down by month in Joiin. You’ll also find a list of preset filters in the Filters box, such as This financial year by month, along with many others, to save you setting the dates up yourself.
How to run a report broken down by month
1. Choose your report type
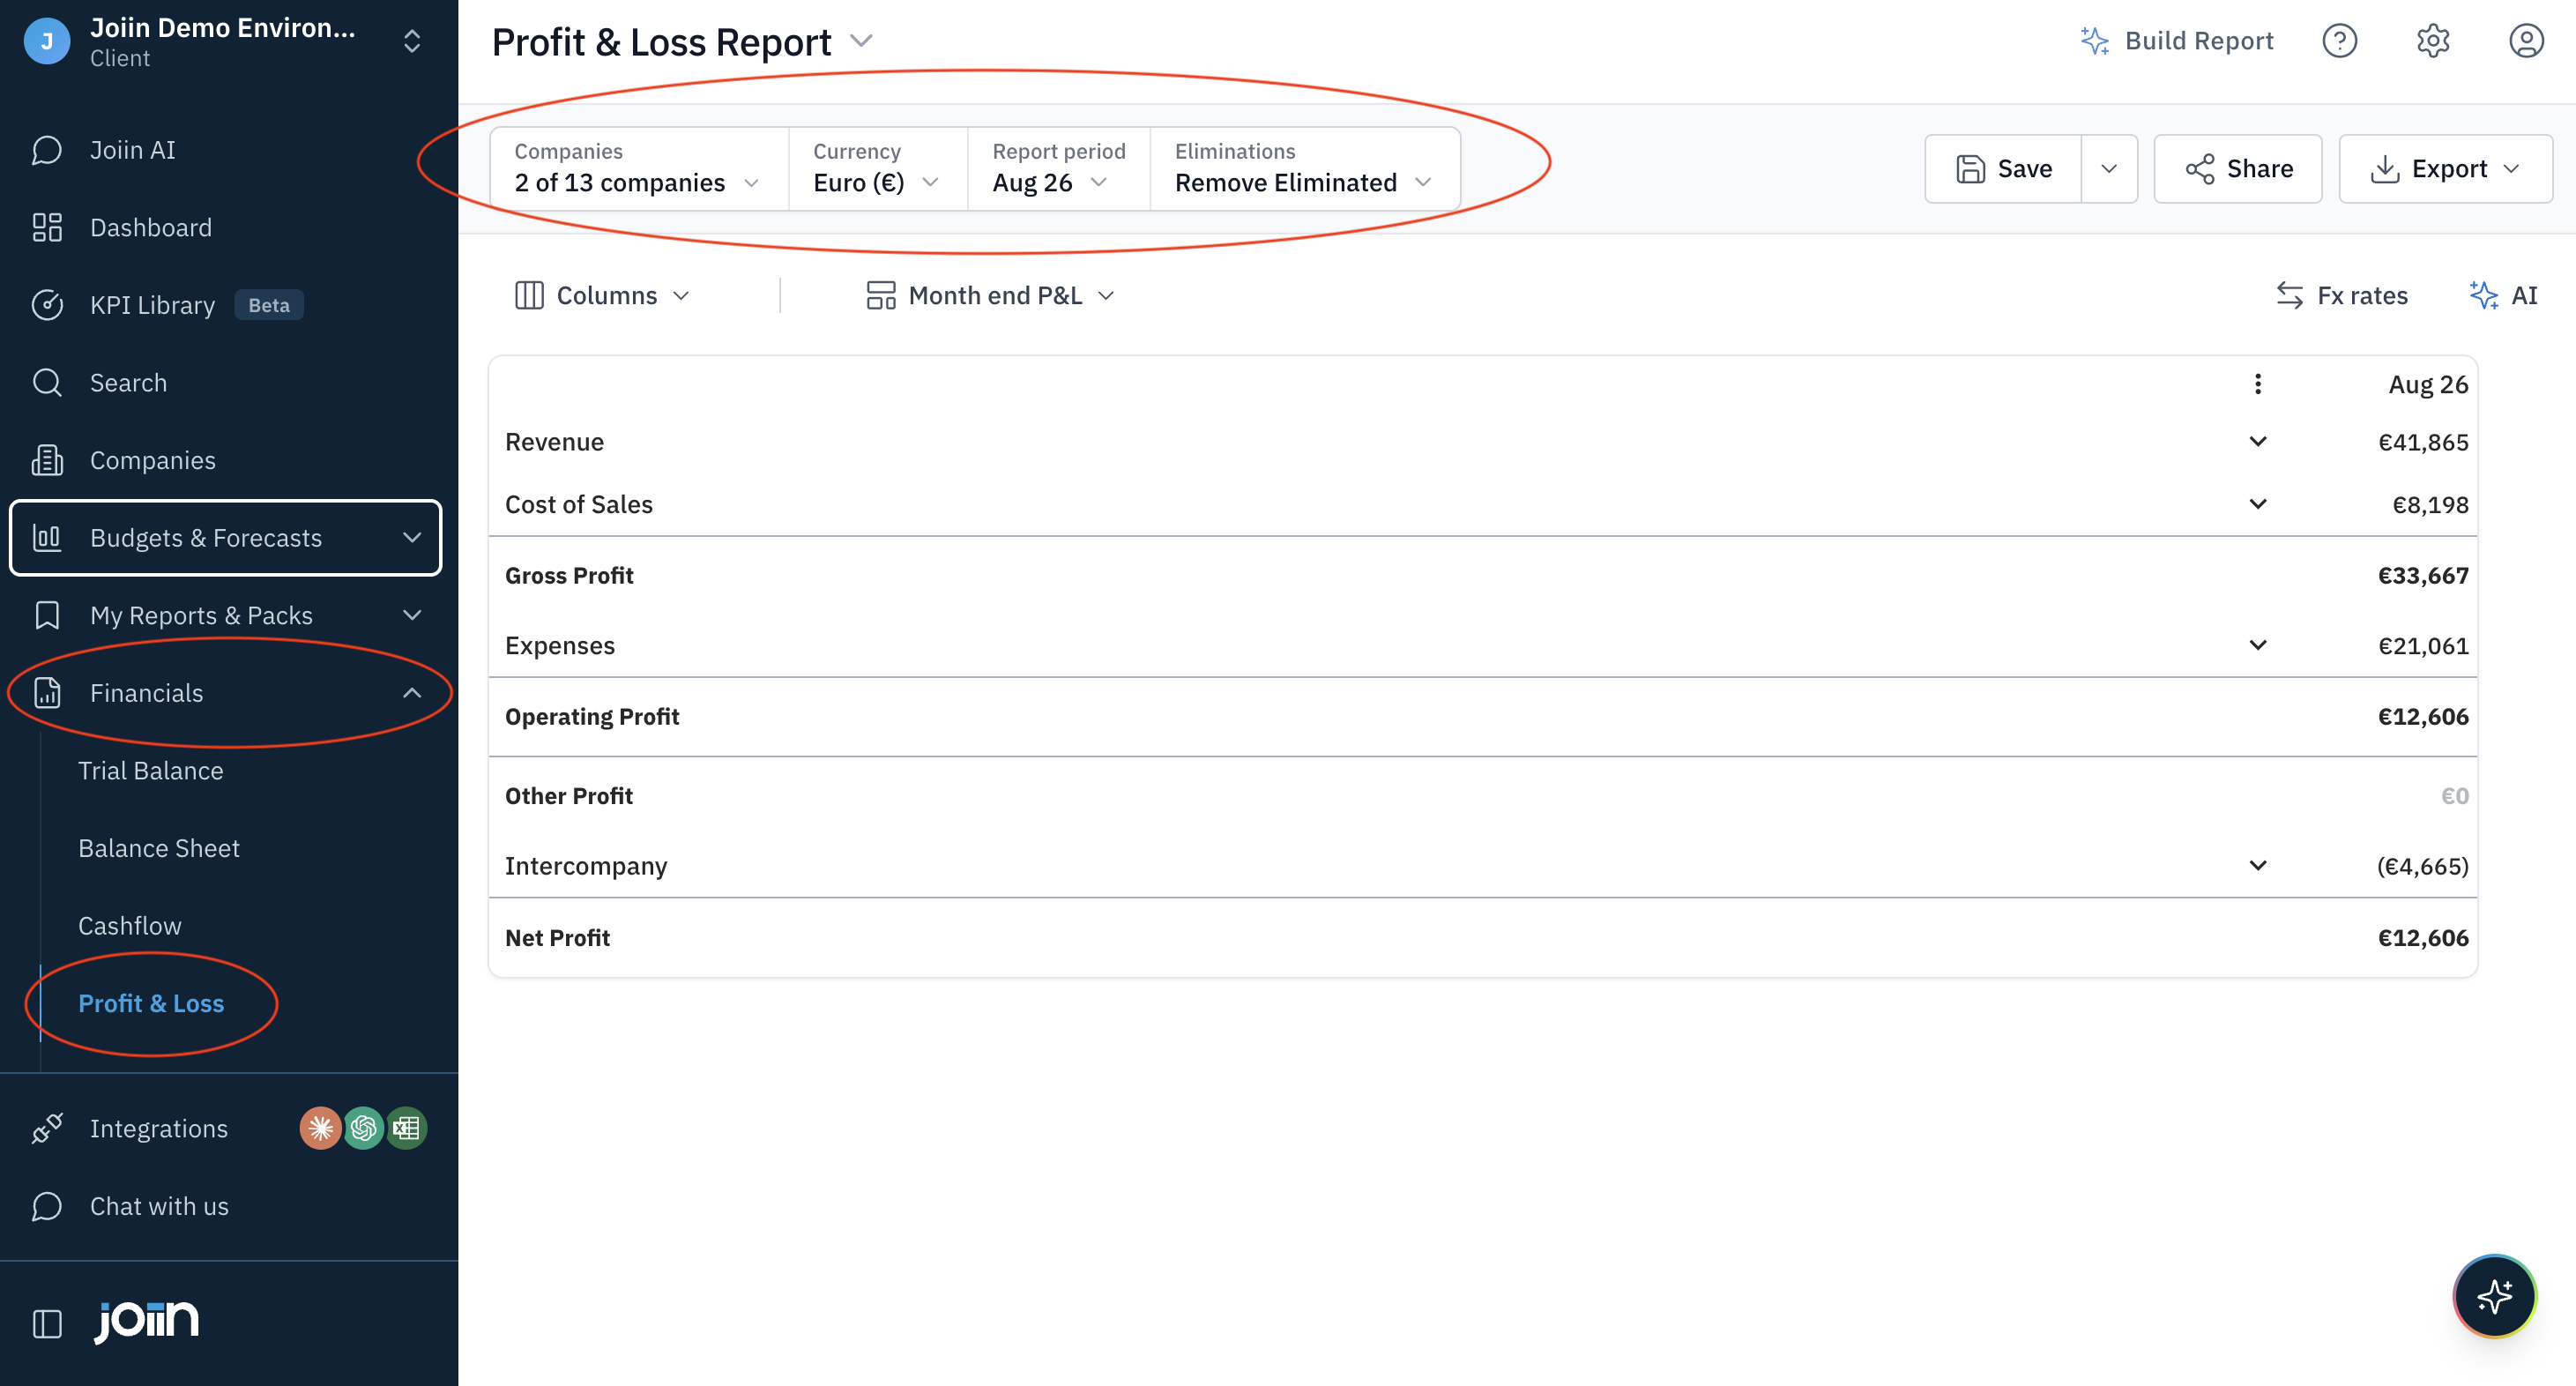
2. At the top of the report, click the box that holds Companies, Currency, Report period and Eliminations. [Screenshot 1: top of the report showing the labelled box with Companies, Currency, Report period and Eliminations]
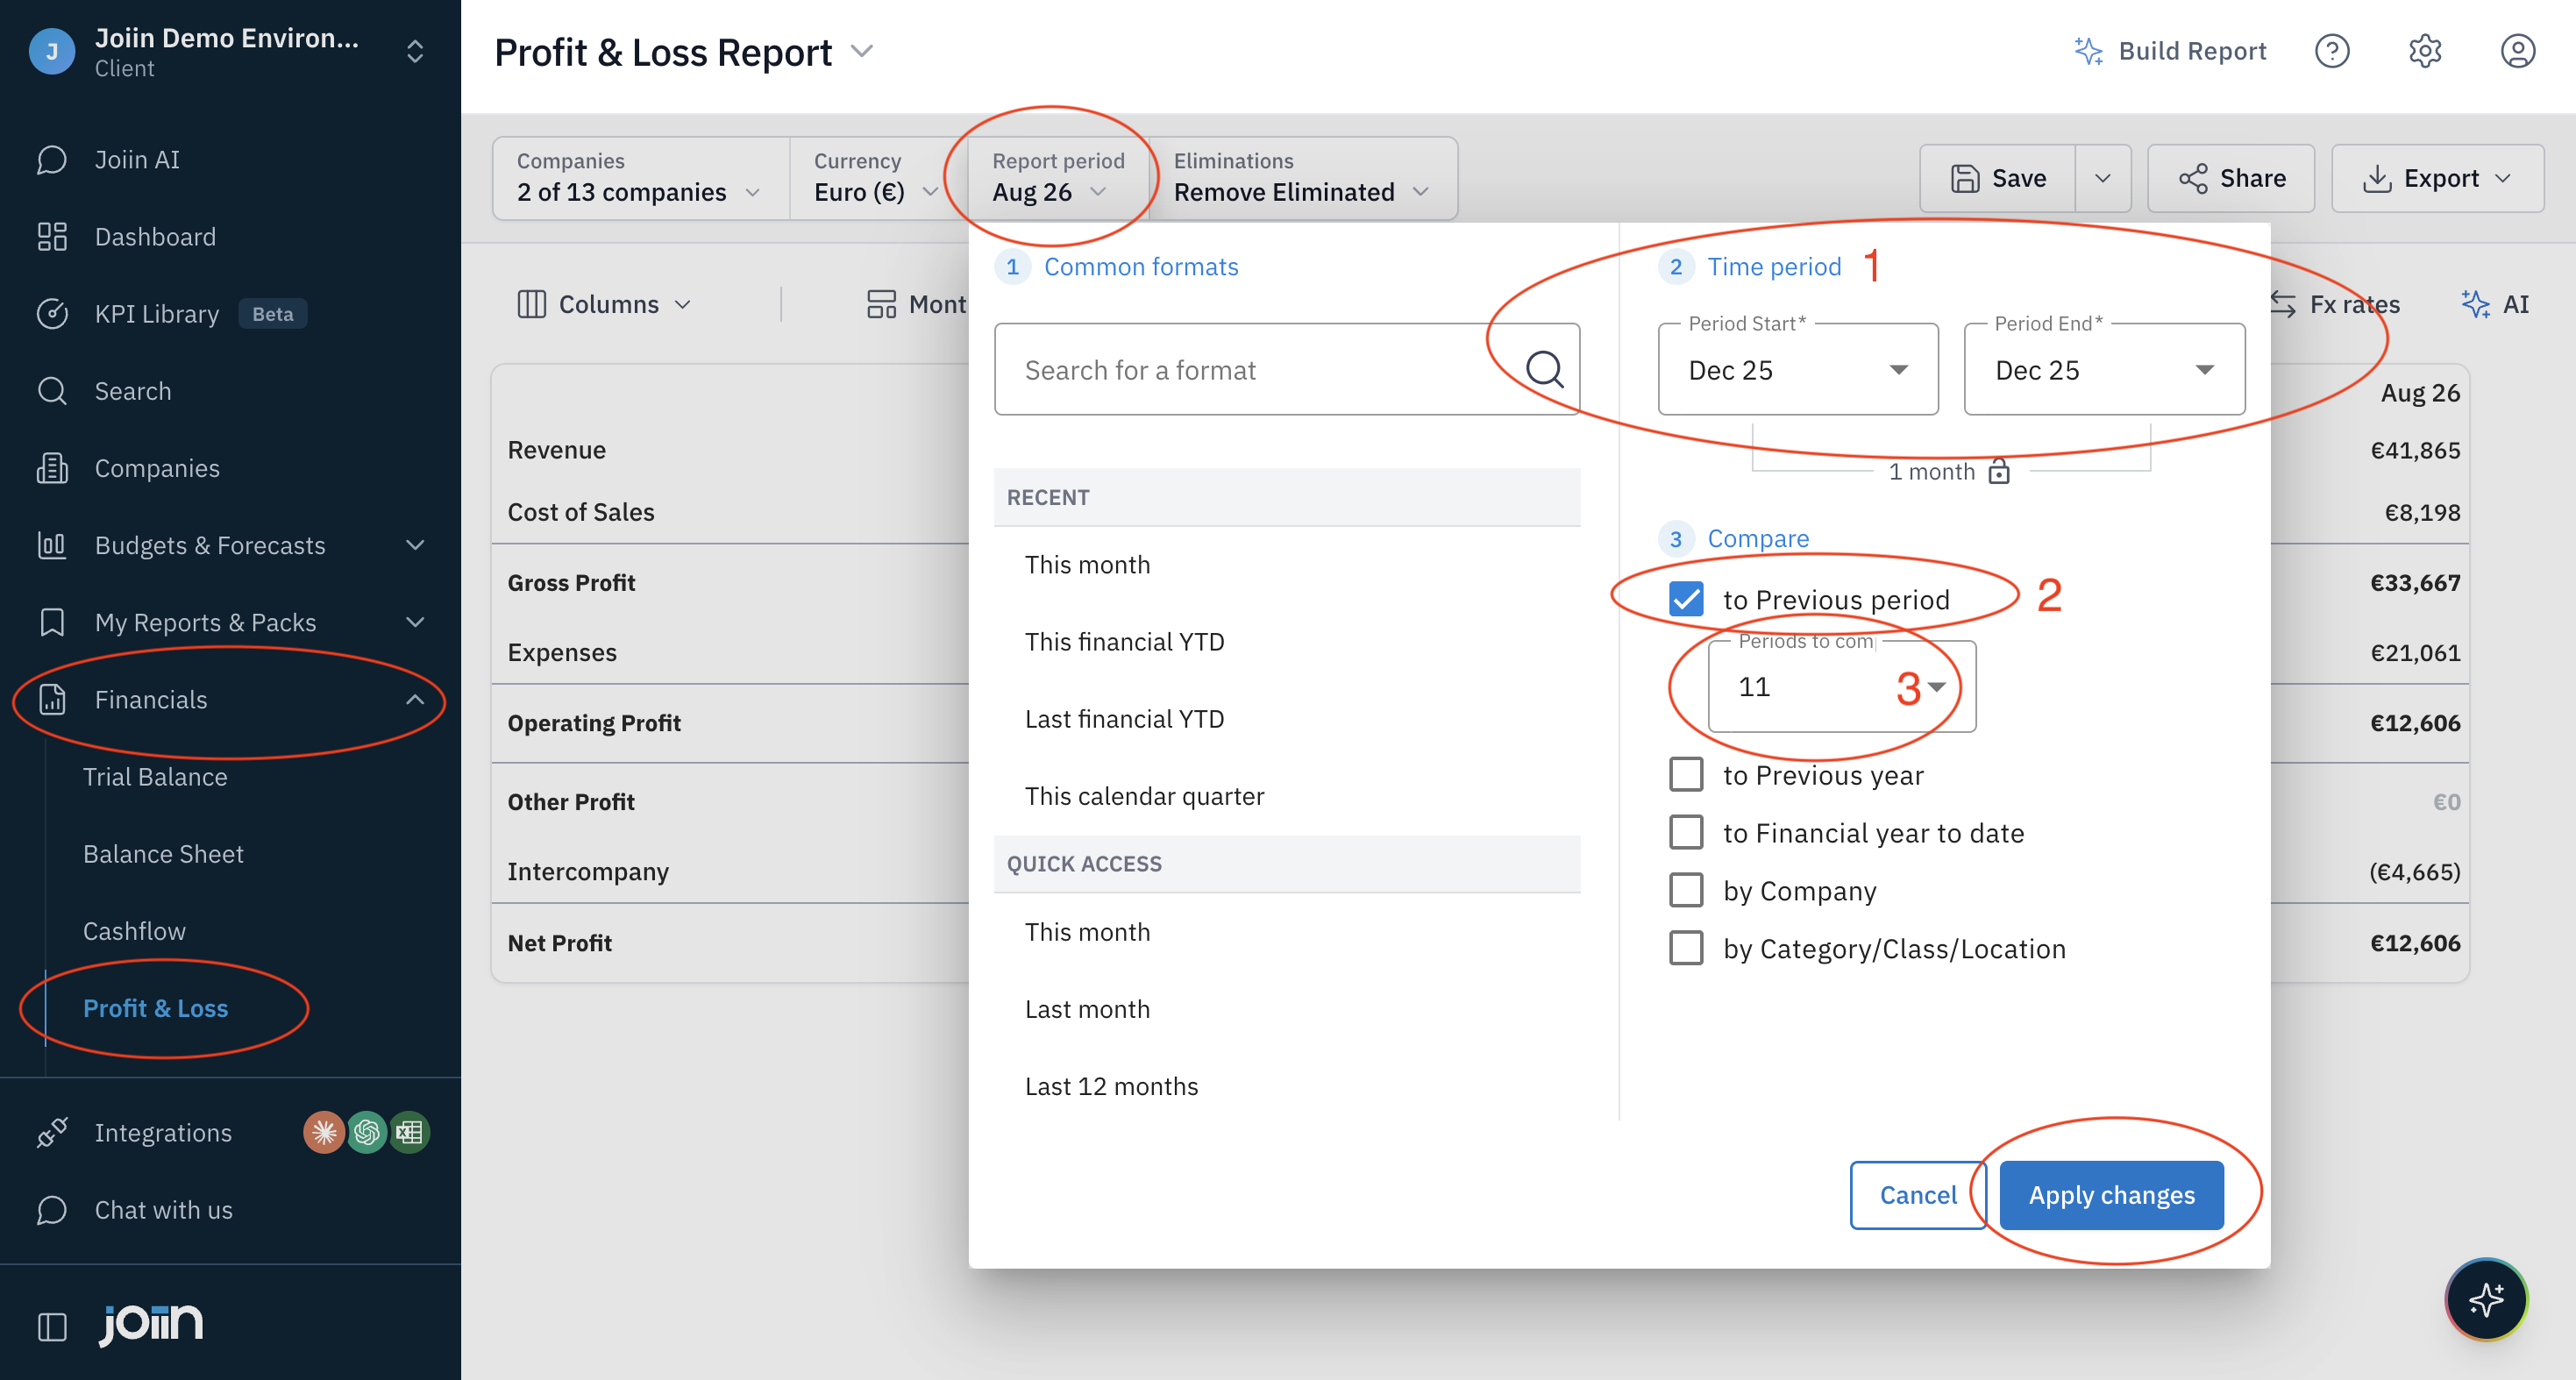
3. In Report period, set the period to the last month you want included in the report (1). For example, for a report covering Jan 25 to Dec 25, set the period to Dec 25 to Dec 25.
4. Select the By previous period option (2).
5. Choose the number of previous periods to show on the report (3).
6. Click Apply Changes to update the report.
[Screenshot 2: Report period open, with (1) period, (2) By previous period and (3) number of previous periods marked]
Underneath the previous period option, there is a Financial year to date and Previous year button. You can find a video explaining these options here.
Changing what the report shows
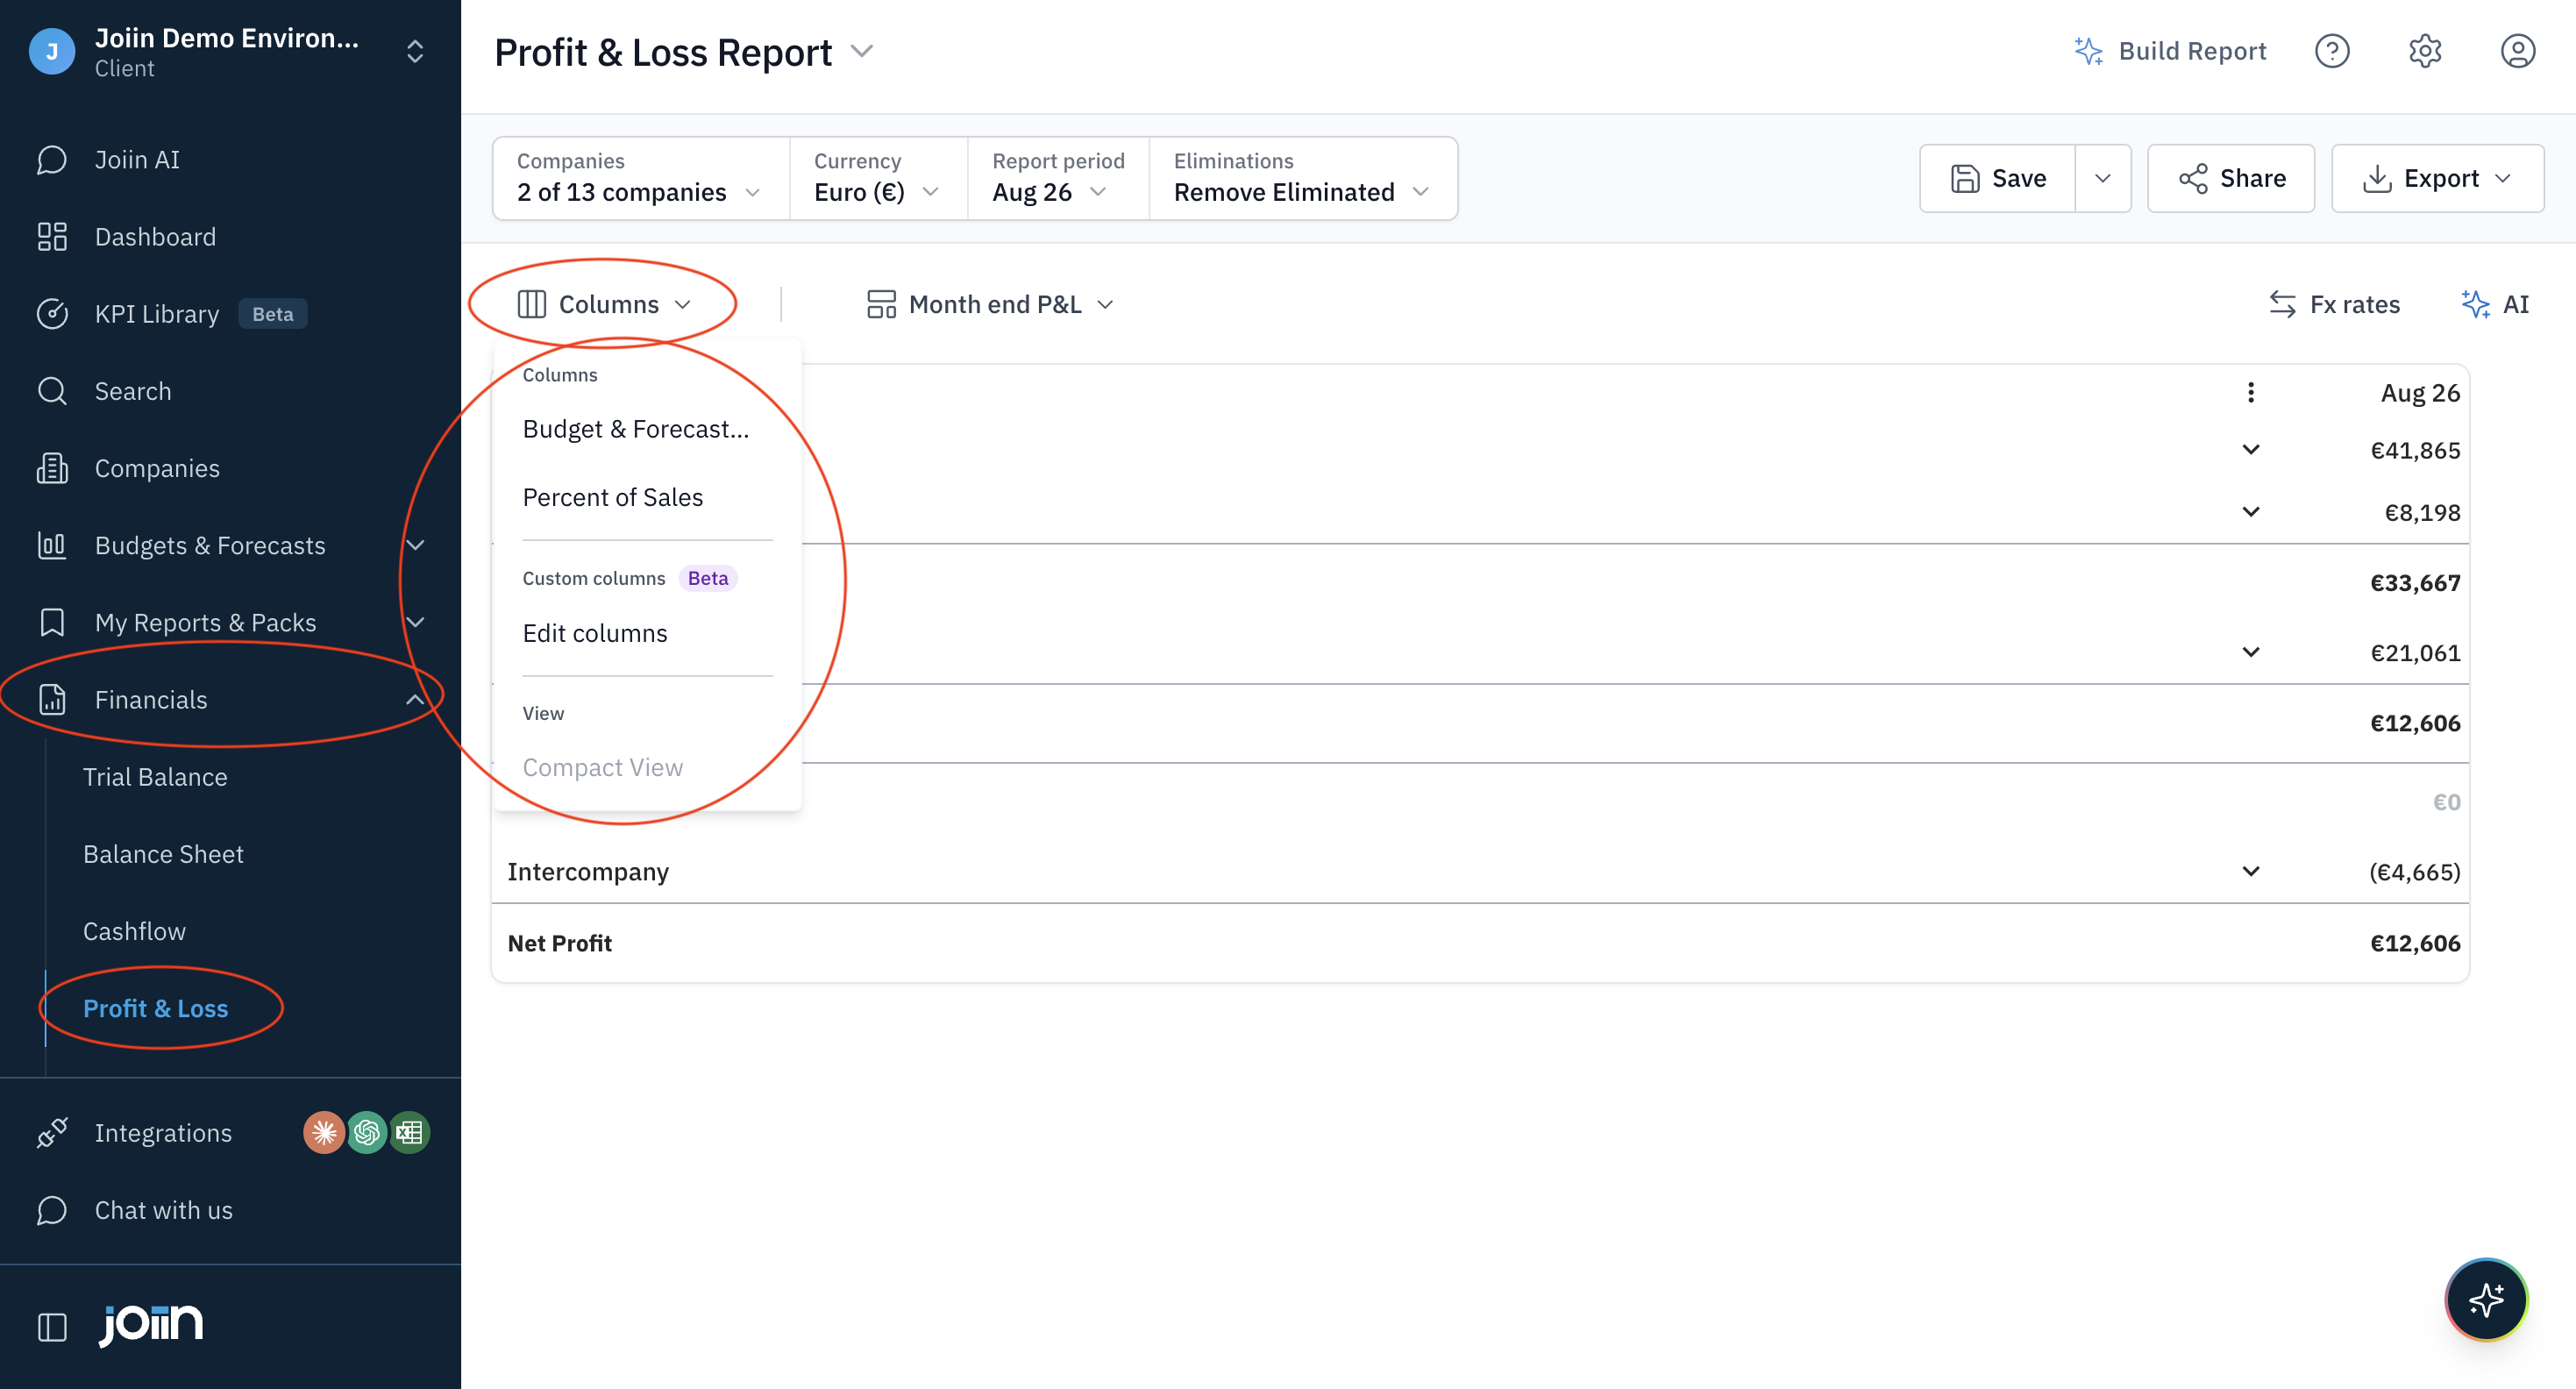
Use the Columns menu to turn display options on or off.
[Screenshot 3: Columns menu open]
Saving the report setup
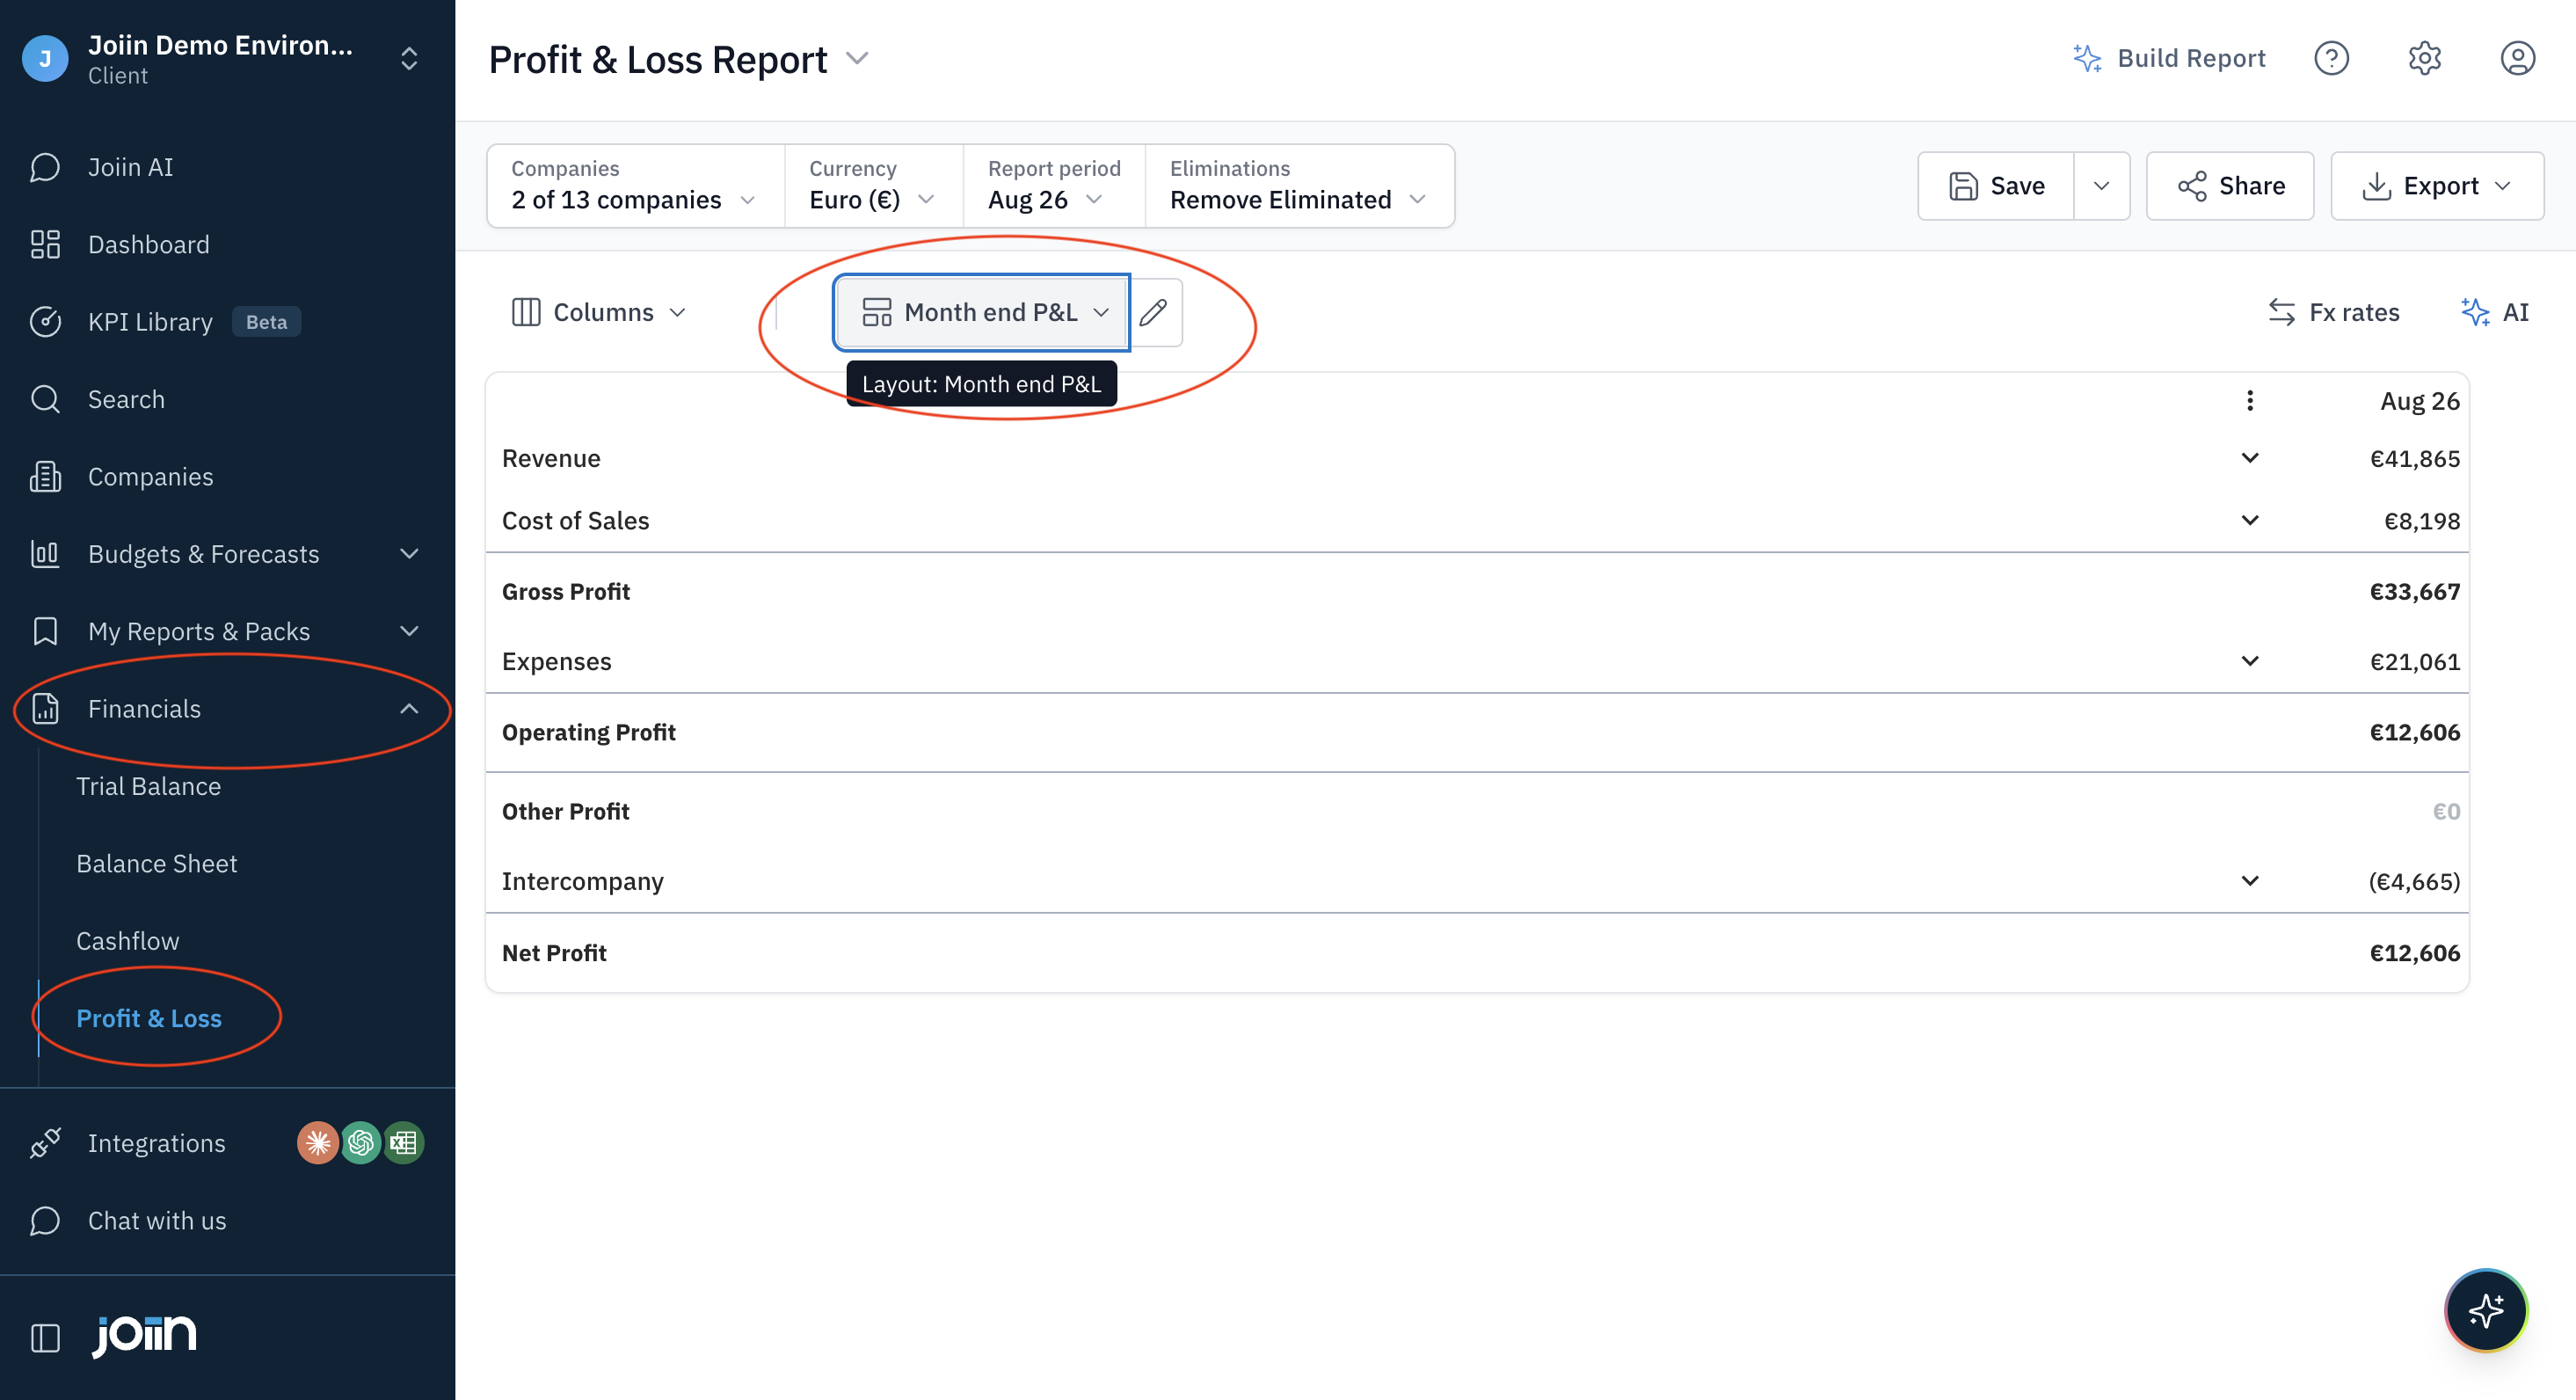
Use the Layout button to save your settings as a layout so you can load them again next time.
[Screenshot 4: Layout button]
Downloading or printing
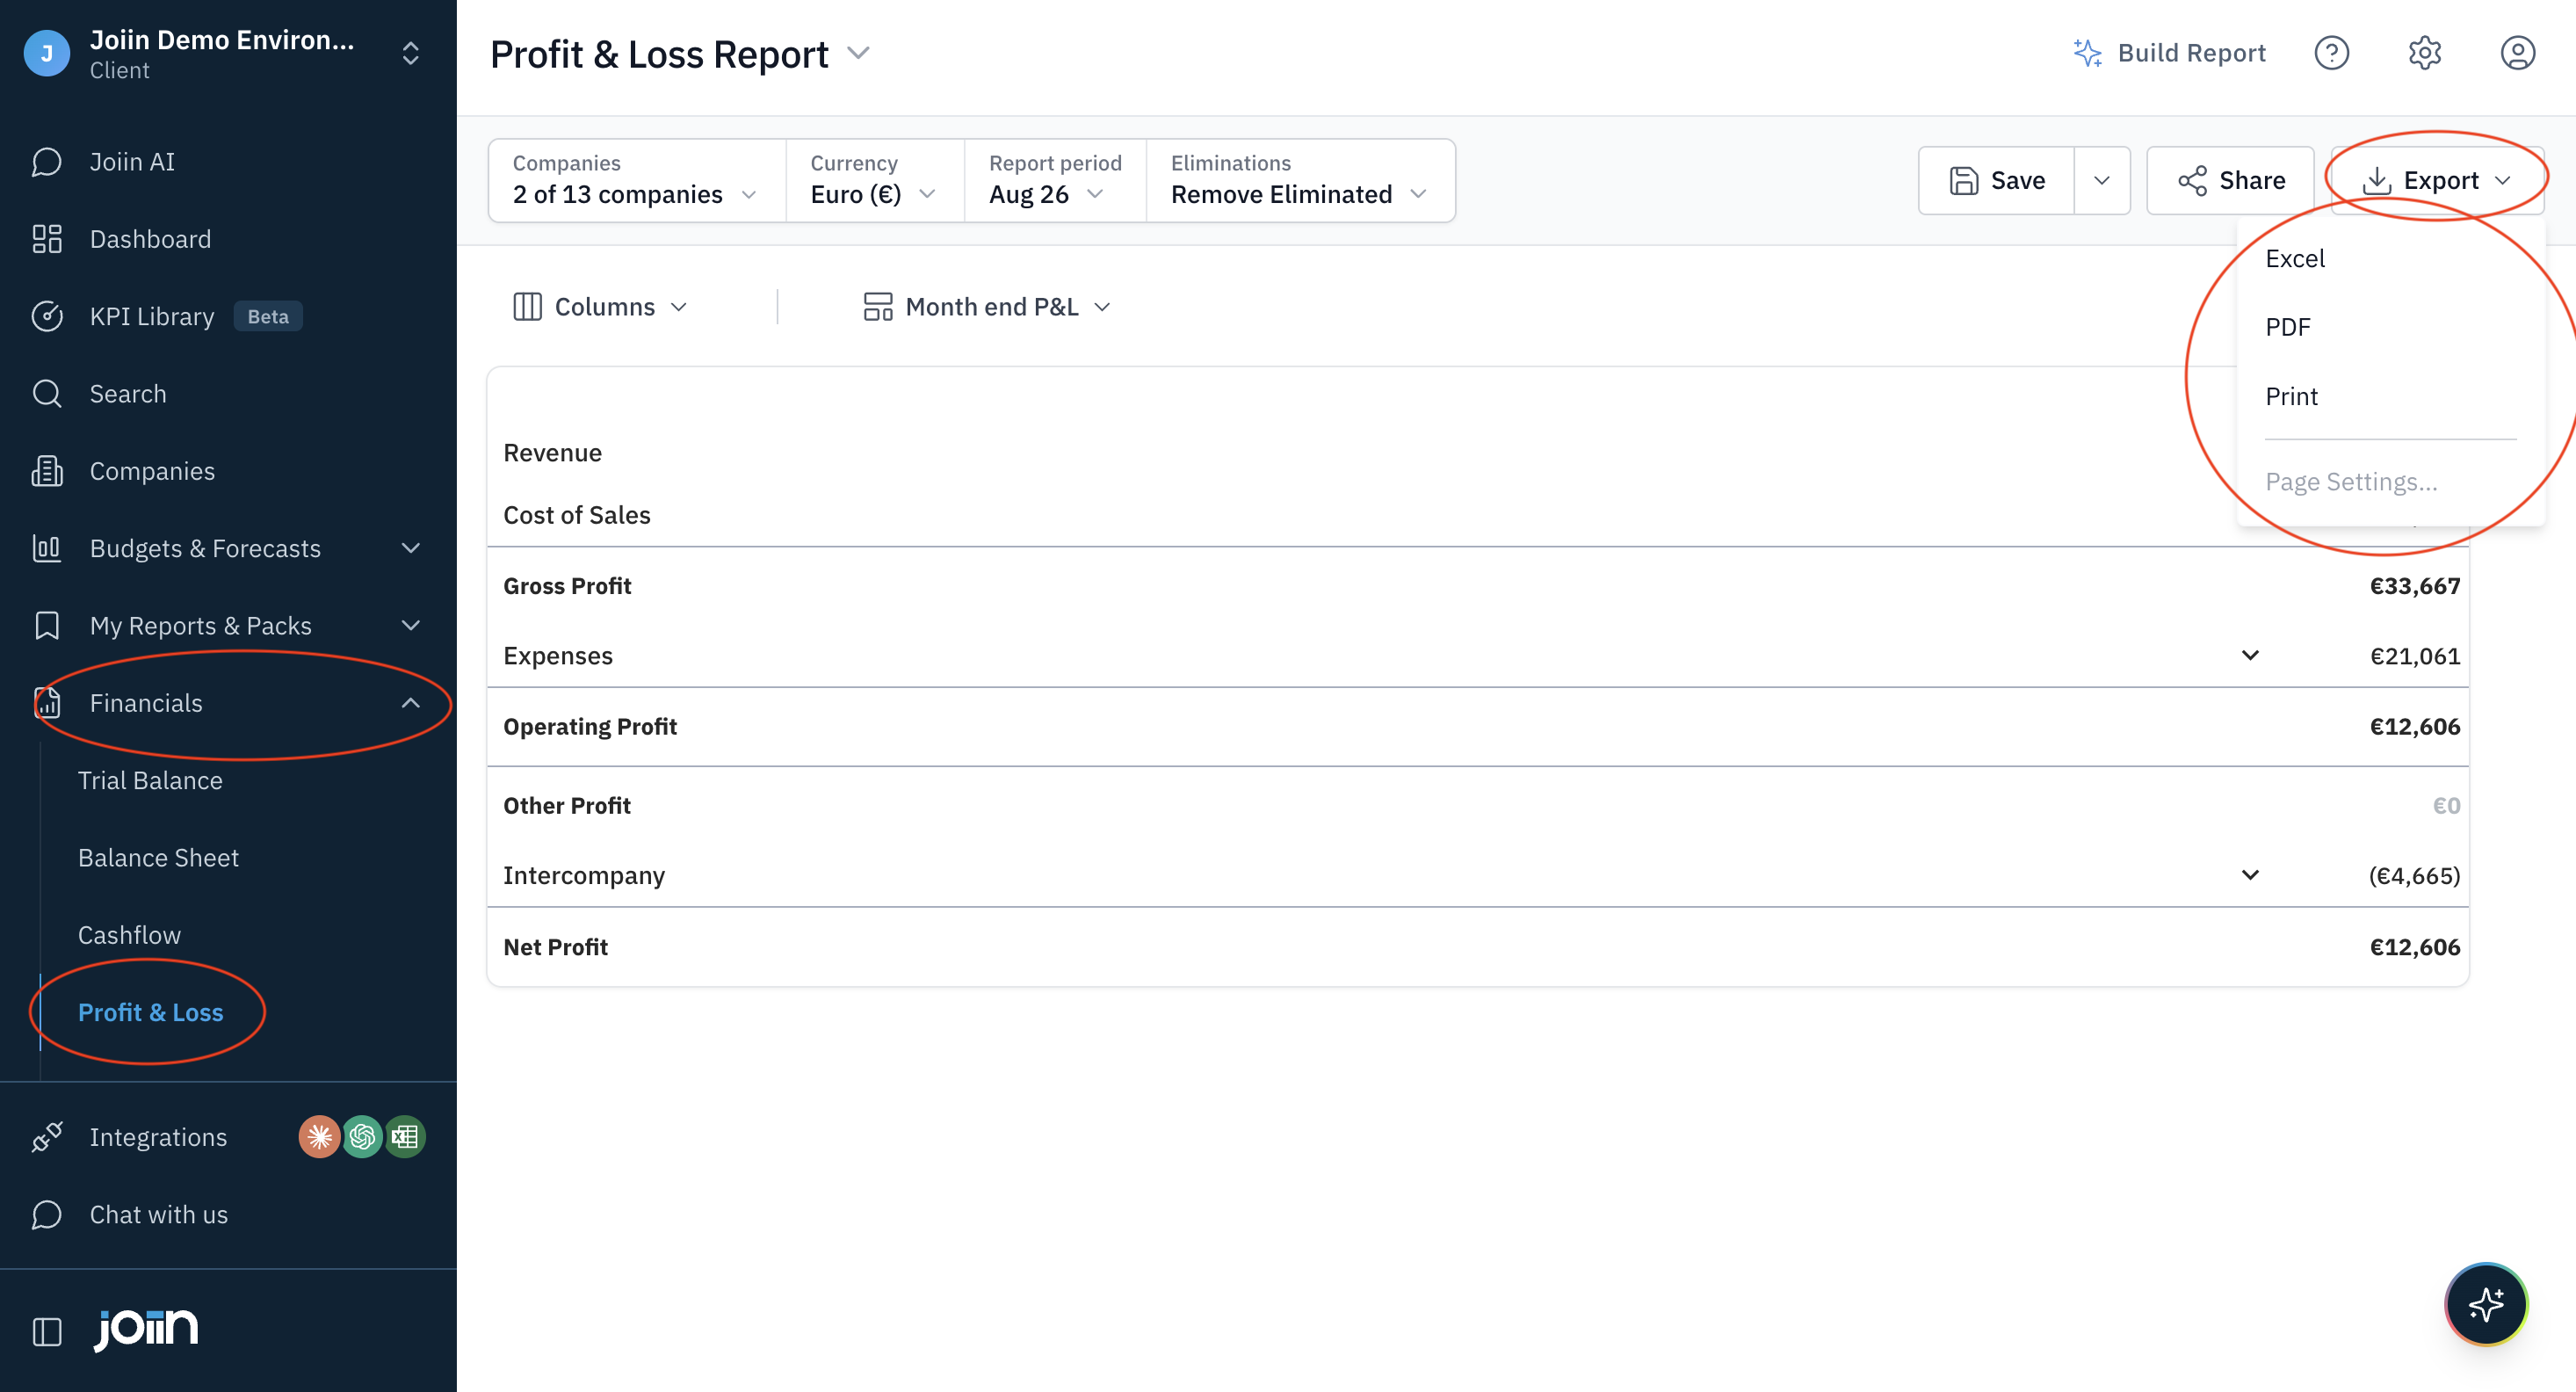
Open the Export menu to download or print the report.
[Screenshot 5: Export menu open]